


You can configure your LHA / LNK Series DVR / NVR to set a picture schedule for Auto Capture.
Prerequisite:
The following instructions require you to access your system using your DVR / NVR and a monitor.
To set a picture schedule:
- In the taskbar, click the Main Menu icon (
), and then click Settings > Picture > Picture Schedule.
- In the Channel drop-down, select a channel.
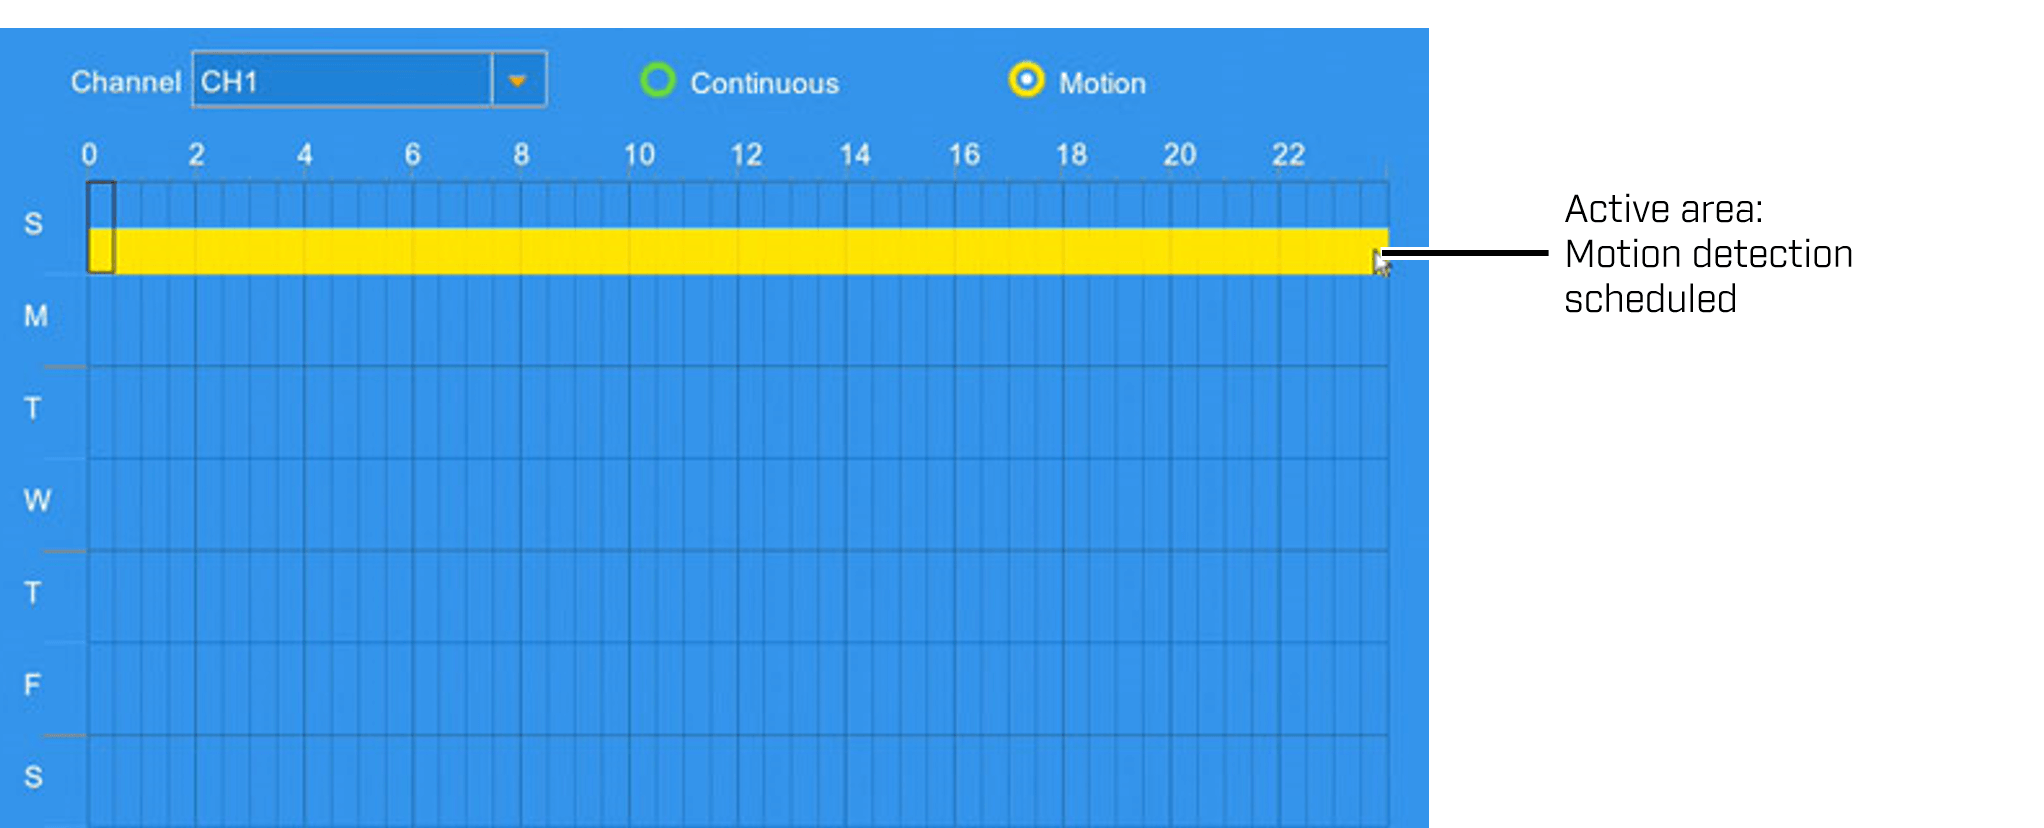
- Select Continuous to edit the continuous capture schedule?,? or Motion to edit the motion capture schedule?.
-
Click and drag to add active sections to the schedule. Click and drag over existing sections to remove active sections from the schedule.
-
Click Save to set your picture schedule, and then Click OK.
You also have the option to use Manual Capture to save snapshots to save snapshots at any time. Once you have saved a snapshot, you can locate them on your DVR / NVR system.