


The following article details how to see cameras that are not appearing during the Lorex Smart Home Security Center (LSHSC [L871T8]) setup.
To view cameras that are not appearing during the LSHSC setup:
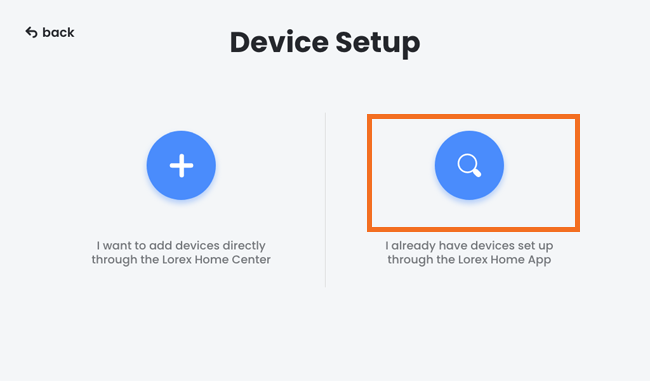
- Find out if the camera or doorbell requires a direct setup method or an app setup method.
- Direct setup method means you can connect a camera directly to the LSHSC local network.
- App setup method means that the camera must be set up on the Lorex App * first * and then you can add the camera to the LSHSC.
For more information, visit this article on direct setup method vs. app setup method.
- If you are using the direct setup method and the LSHSC cannot find the camera or doorbell, make sure of the following:
- The device is powered on and ready to pair.
- Make sure the device is no more than 3ft from the LSHSC during the setup process.
- Make sure you are only pairing one device to the LSHSC at a time.
If you still cannot find the device, another possible solution would be to reset the device:
- For cameras, press and hold down the reset button for 10 seconds to perform a hard reset.
-
For sensors and doorbells, use the included pin to insert into the reset hole and hold for 10 seconds to perform a hard reset. An audible chime from the device will indicate a successful reset. Once the reset is complete you can connect the device to the LSHSC.
Note: This can be used for both direct setup method and app setup method.
- If you are using the app setup method, make sure of the following:
- The device is setup on the Lorex App.
- The device is within range of your Wi-Fi router.
- The LSHSC and the device are on the * same * Wi-Fi network.
Follow the steps below to add the device to the LSHSC after the app setup:
- Tap the search icon on the * Device Setup * screen.
-
When you have found the device, enter the device password.
IMPORTANT: The device password is the same password you used to setup the LSHSC. It contains at least 8 characters and a combination of numbers, letters, and special characters